

Designing
Upload your logo and photos
Your own logo and photos go into the Library. From there you place them on any design. Your uploads are never marked: the preview mark is only on AI pictures and gallery backgrounds.
Upload and place a picture
Step 1: Open the Library in the editor
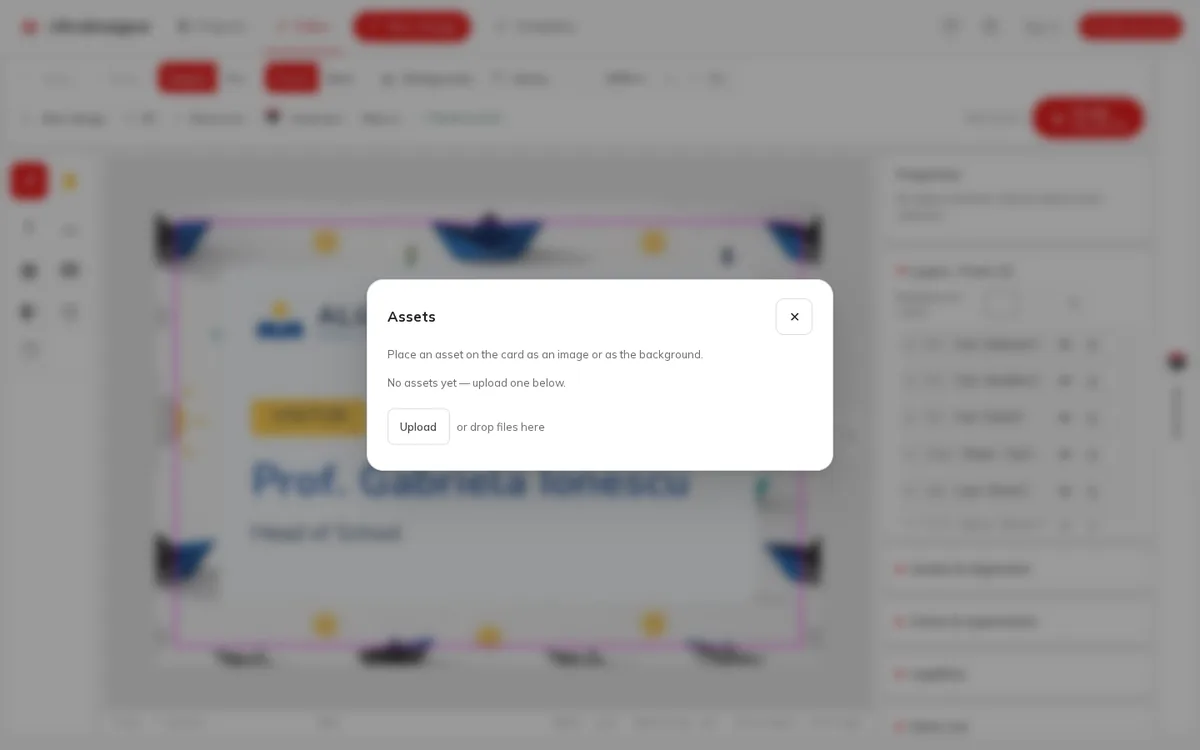
Click Library in the editor toolbar. The window Assets lists your pictures.
Step 2: Upload
Click Upload and choose one or more files, or drag them onto the window (or drop files here). PNG, JPEG, WebP, GIF, AVIF, BMP, ICO and SVG files are accepted.
Step 3: Place it
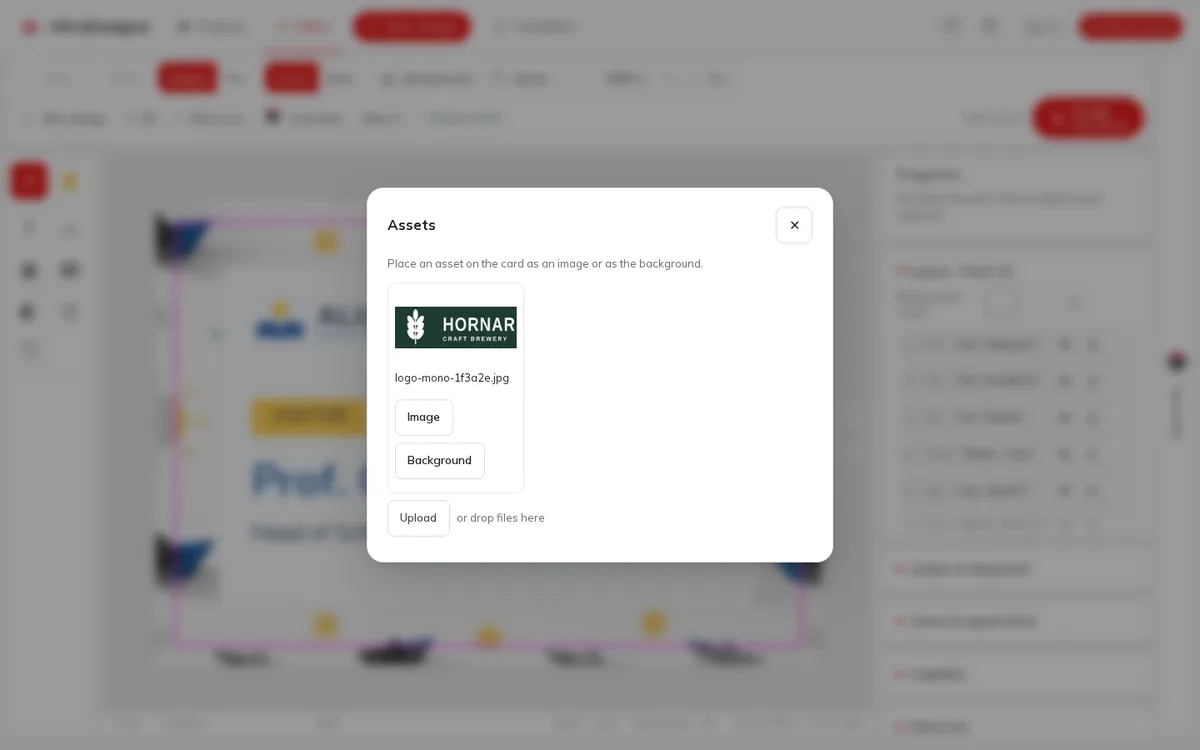
Under the picture, choose Image to put it on the design or Background to use it as the background of the current side.
Manage the Library
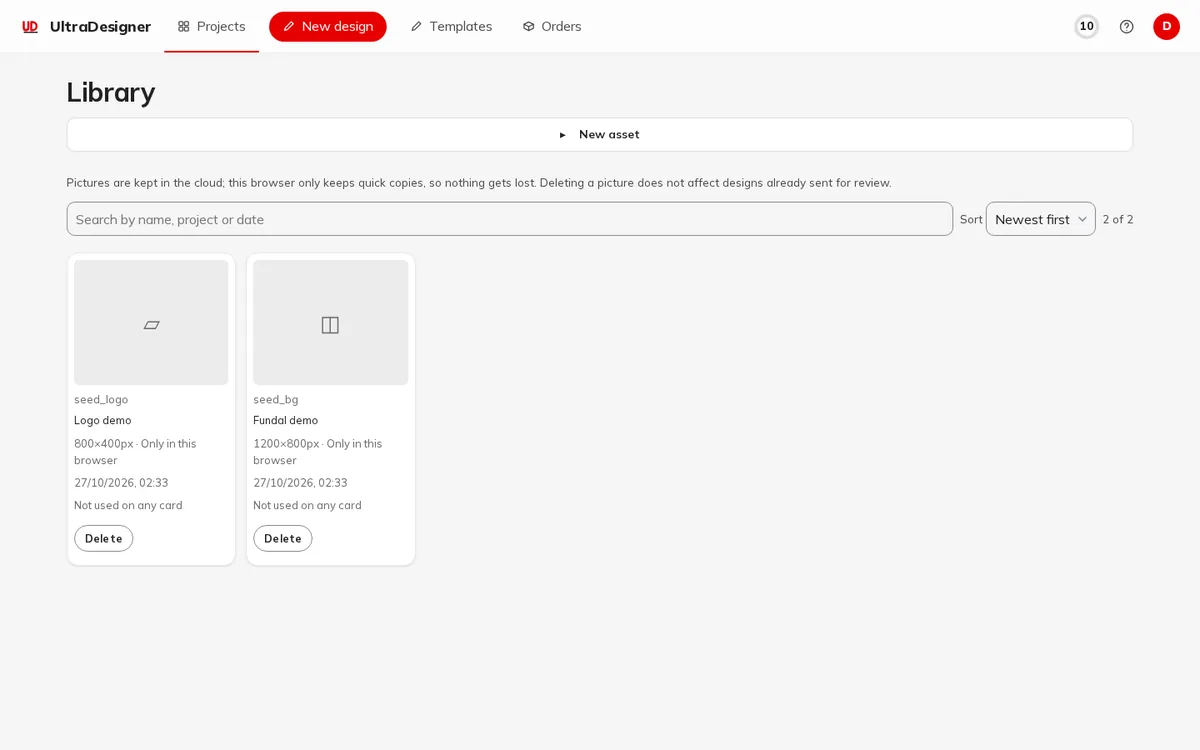
With an account, open the Library from the account menu to see all your pictures. You can search by name, project or date, sort them, Add a picture, Download one or Delete it (you confirm with Confirm delete).
Replace a picture
When the print check finds a picture with too low a resolution, it offers Replace the picture: choose a better file and it takes the old one's place. The old picture stays in the Library.
Screens and prices in the pictures are examples; the app always shows the current price before you pay.
Written for the app as of 2026-10-27.