

Designing
Pictures, backgrounds and layers
A design is made of layers: a background at the back, then pictures, shapes, texts and codes on top. This guide shows how to work with pictures, the background and the layer order.
Choose a background
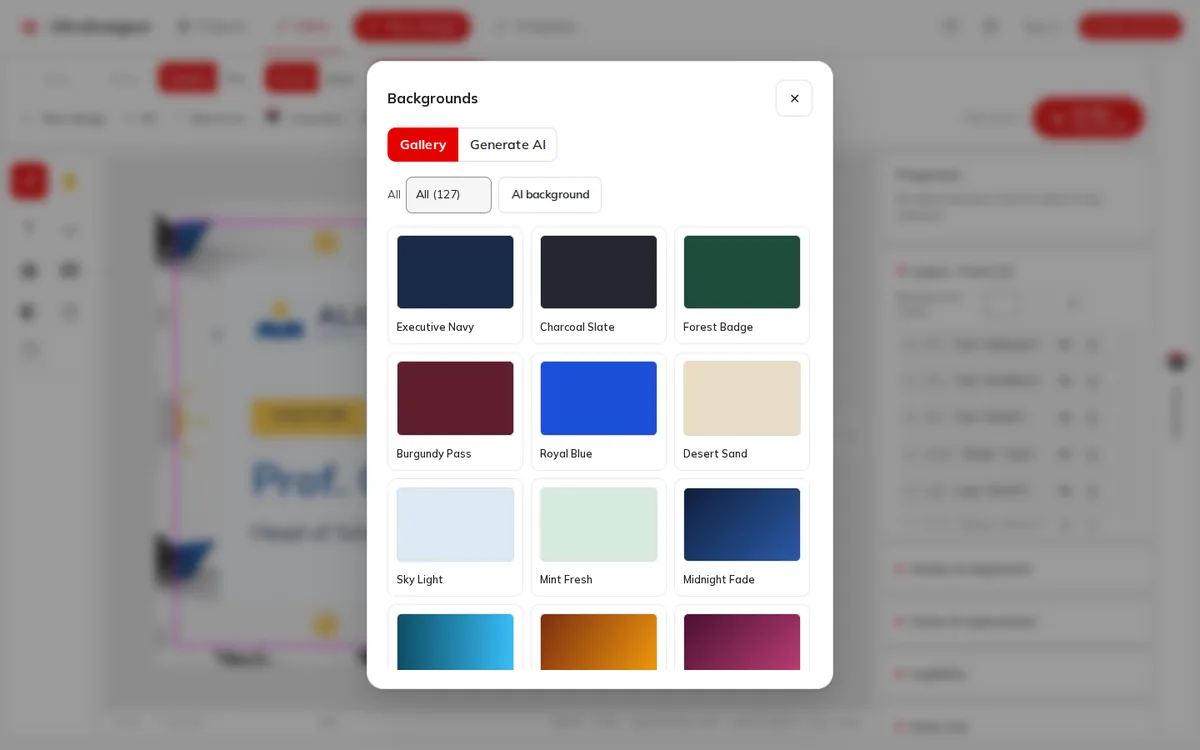
Step 1: Open the backgrounds
Click Backgrounds in the toolbar. The Gallery tab lists ready-made backgrounds; click one and then Apply.
Step 2: Or use a plain colour
In the Layers panel, the first row is Background · colour: click the colour box to pick any colour.
The background always stays at the back. If you want to move it like any other object, use Make it a normal layer.
Place and fit a picture
Step 3: Place it
Click Library in the toolbar and choose a picture, or upload a new one; then choose Image to place it on the design or Background to use it as the background. See Upload your logo and photos.
Step 4: Size and fit it
Drag the handles, or type Width and Height. Keep proportions stops the picture from stretching. Image fit decides how the picture fills its frame: Fill (crop), Fit whole or Stretch (distort).
Step 5: Fine-tune it
Under Border and shadow you can add a border and a Shadow; Edge fade · mm softens the edges into the background.
AI tools for pictures
With an account, a selected picture offers Remove background, Enhance quality and Edit the picture with AI. Each use counts towards your daily free AI allowance. Undo (Ctrl + Z) brings the original back, and a copy is kept in the Library.
Work with layers
- The Layers panel lists every object on the current side, the top one first.
- Drag a row by its handle (≡) to change the order, or use To front and To back.
- The eye button hides an object in the editor; the lock stops it from being moved by accident; × deletes it.
- With several objects selected (Shift + click), Align & distribute lines them up or spaces them evenly.
Screens and prices in the pictures are examples; the app always shows the current price before you pay.
Written for the app as of 2026-10-27.